Before you start drawing boundaries, you need to choose the right structure. There are different types of sales territory design, and the right choice depends on your market, sales structure, product mix, business model, your sales cycle, and your team's strengths.
What is Territory Design?

But it's more than just drawing lines on a map. A robust sales territory design process is the "connective tissue" between your high-level revenue goals and your rep’s daily schedule.
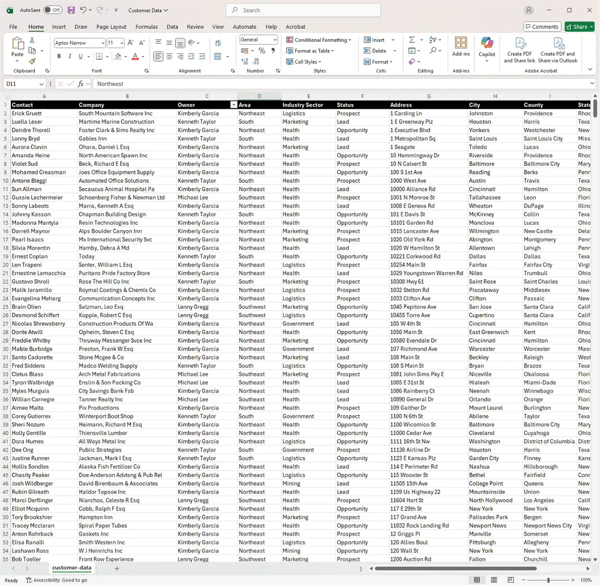
At its core, territory design is the strategic process of dividing your market into defined areas, customer groups, or segments to ensure every lead or customer is covered and every rep has a fair shot at hitting quota.
Effective territory design starts with a clear visualization of your data. For a deep dive into the technical steps of setting up your map, check out our sales mapping guide.
The 3 Core Types of Sales Territory Design

It is the most common and easiest model to adopt. You assign a rep to a specific physical area like a city, state, or set of postcodes.
- Best for: Field sales teams where "face time" matters
- The Benefit: It slashes travel time and creates clear accountability. And it is the simplest.

Here, geography takes a back seat. Reps are assigned specificlists of named accounts, often based on a target vertical or existingrelationships or company size (e.g., Enterprise vs. Mid-Market).
Best for: Strategic, high-value B2B sales where relationshipstrump proximity.
As the name suggests you leverage both types of sales territorydesign, geographic and account-based.
Best for: Coverage and flexibility.
The "Hidden" Design Error: Ignoring Travel Time?

If you are designing sales territory boundaries using a spreadsheet, you are missing a critical variable: Geography. A rep with 50 accounts in downtown Manhattan has a vastly different workload than a rep with 50 accounts spread across rural Texas. If you treat them as "equal" on a spreadsheet, you create imbalance and potential burnout. Modern territory design process tools account for drive time and road networks, ensuring that "fair" actually means "doable".
Pro-Tip for Sales Ops: Don't Mistake "Crow Flies" for "Drive Time." When drawing boundaries, many teams calculate distance in a straight line ("as the crow flies"). This is a mistake. A 20-mile radius in rural Texas is a quick drive; a 20-mile radius in downtown Los Angeles is a day-long traffic jam. Always use drive-time analysis to determine the actual size of a territory.
Territory Mapping Solutions
-
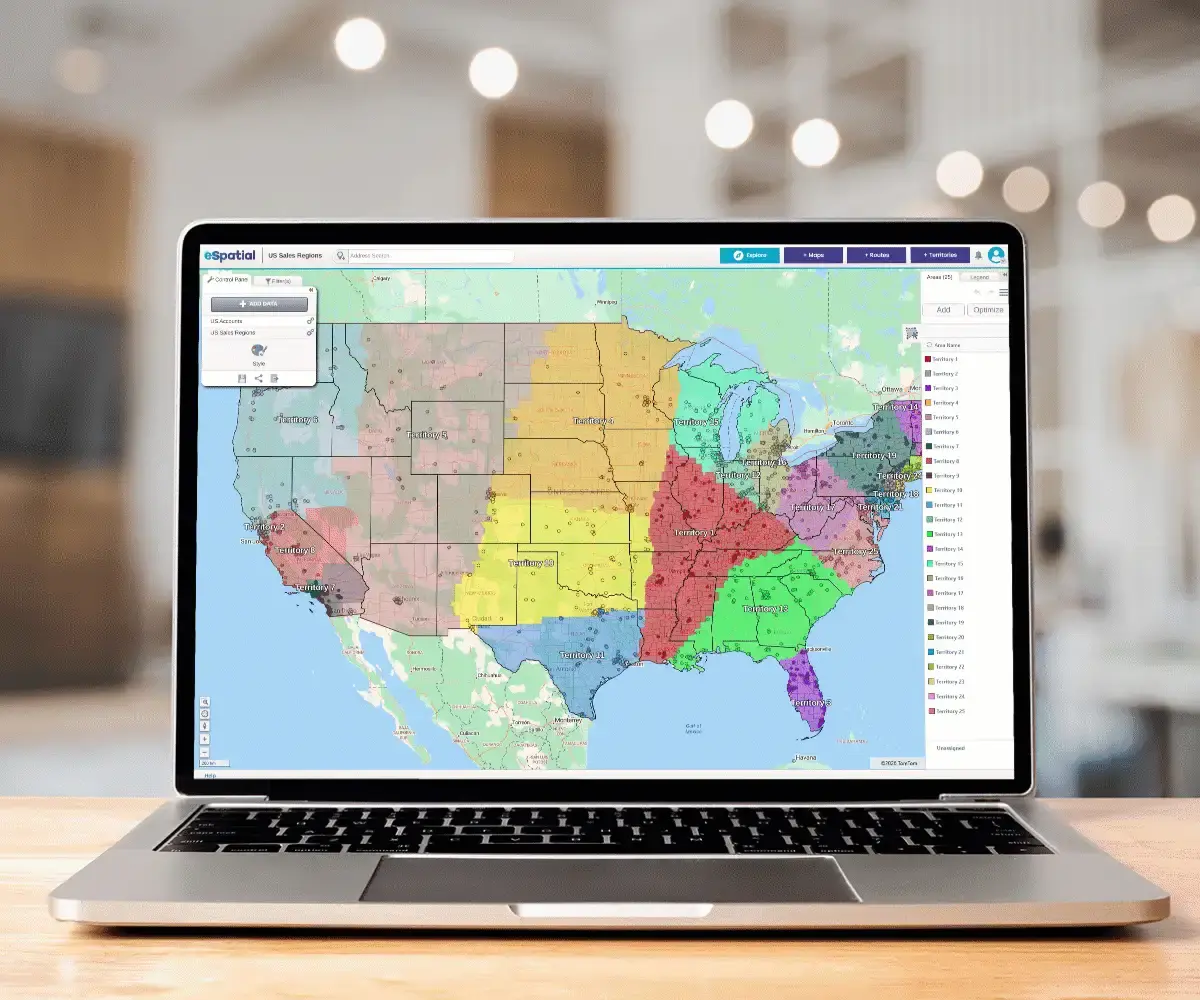 Optimization & Balancing
Shift from "equal" to "equitable" territories. Use workload-based optimization to prevent rep burnout and eliminate lost revenue from unserviced accounts. Balance hundreds of territories in minutes to ensure every rep has a fair path to quota.
-
 Growth & Realignment
Markets evolve, your maps should too. Master active territory management by responding to personnel shifts and performance outliers in real-time. Protect your revenue from "territory drift" and scale your footprint with agile, data-backed realignment.