These simple steps will ensure you correctly format your data for uploading to eSpatial.
There are six simple steps to follow to prepare your data. You can also see how to correctly format your data and common issues when uploading data by viewing our how to prepare data for upload video:
How to Prepare your Data for Upload
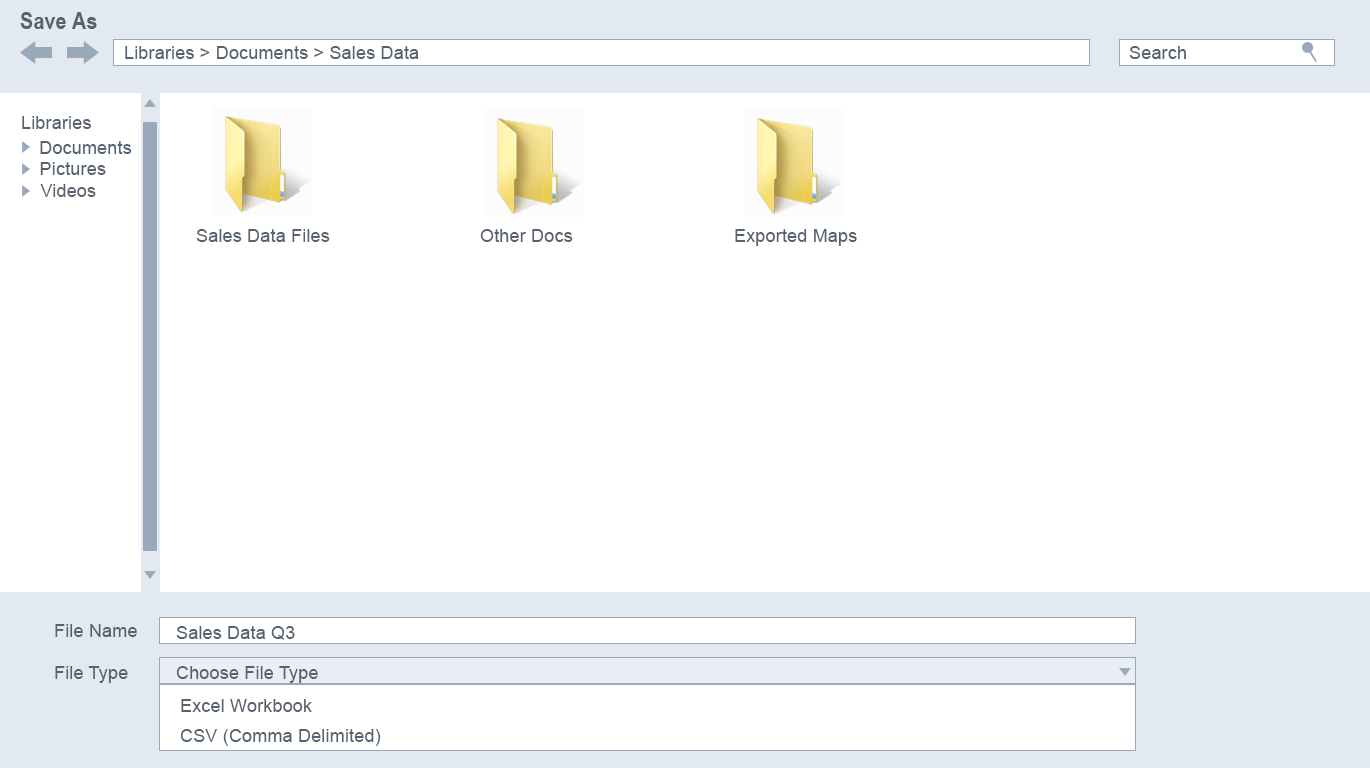
1: Make sure it is saved in the correct format.
Preparing your data for eSpatial is easy. eSpatial accepts uploads from a .csv (Comma Delimited) or Excel (.xls or .xlsx) file.
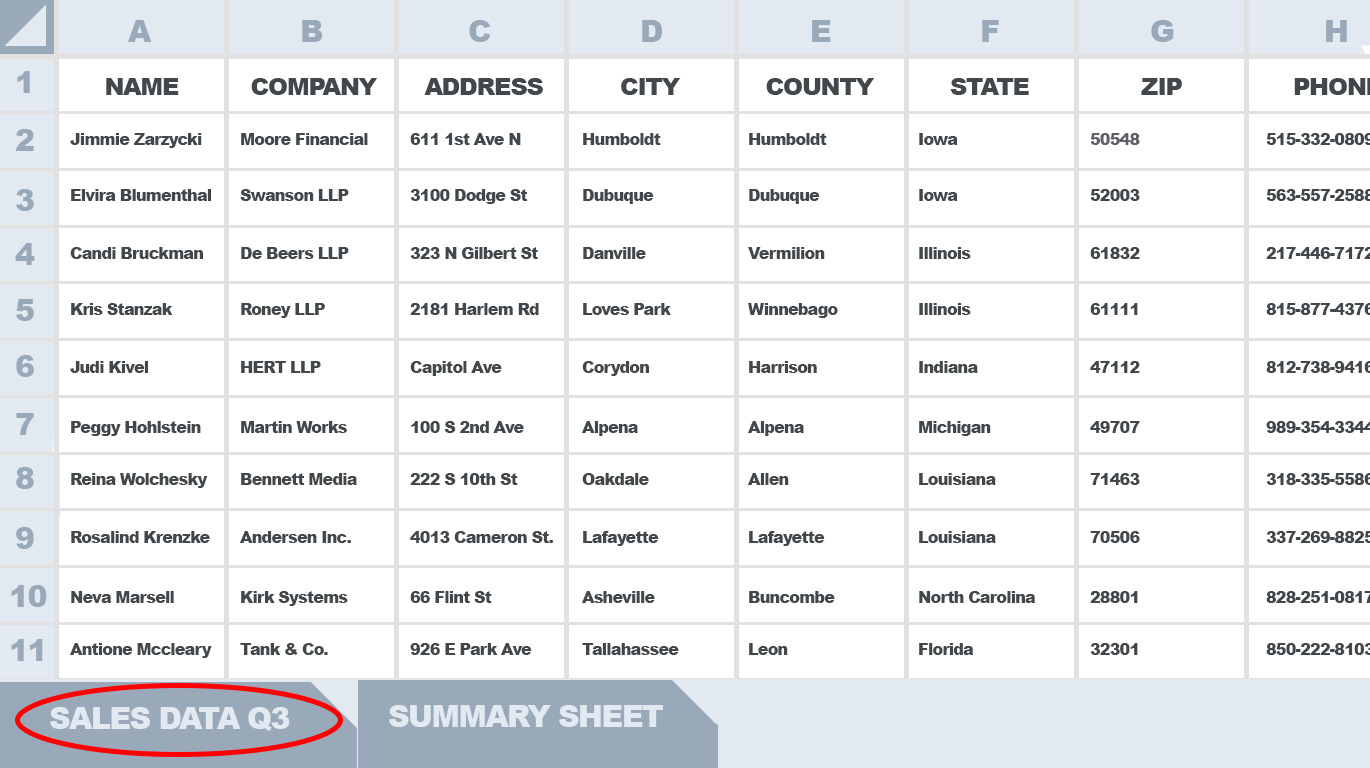
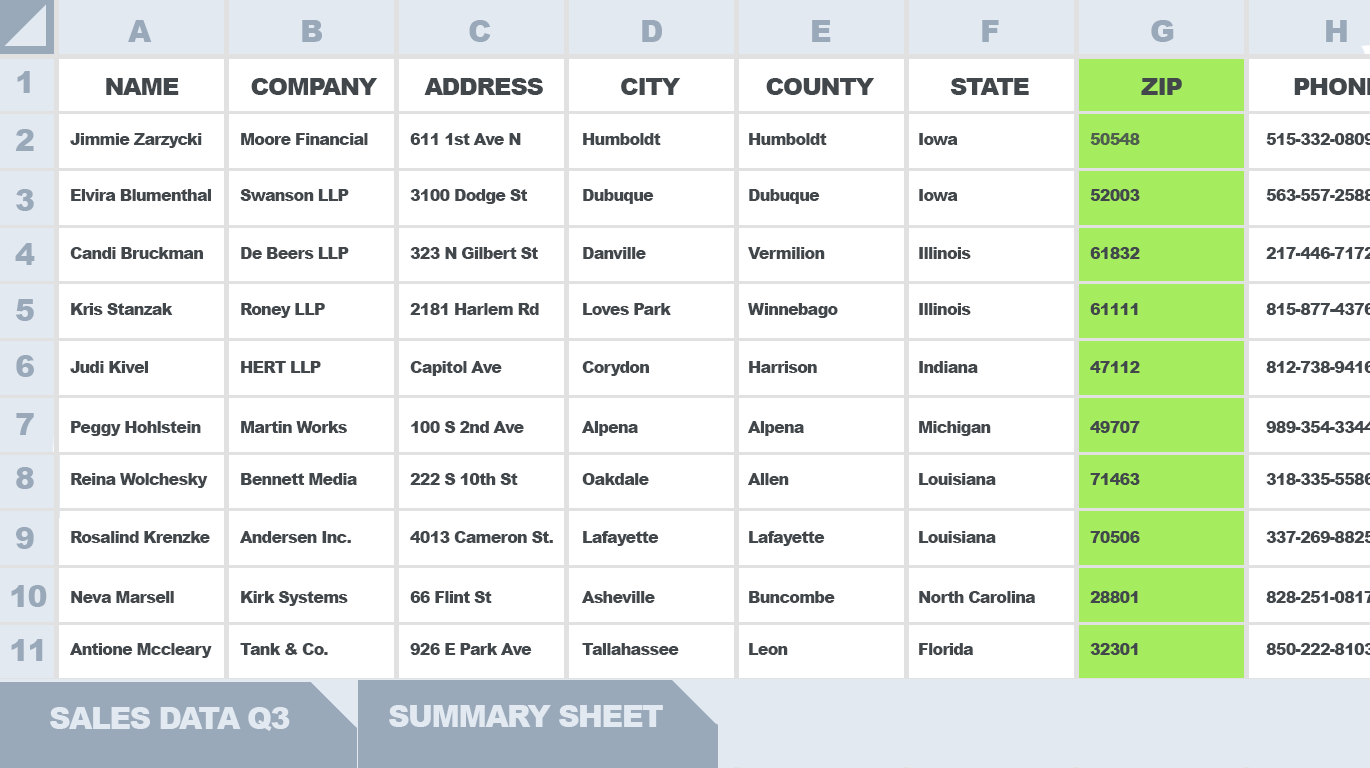
2: Make sure your data is in the first sheet in the file.
eSpatial will only recognize data in the first worksheet of your CSV or excel file.
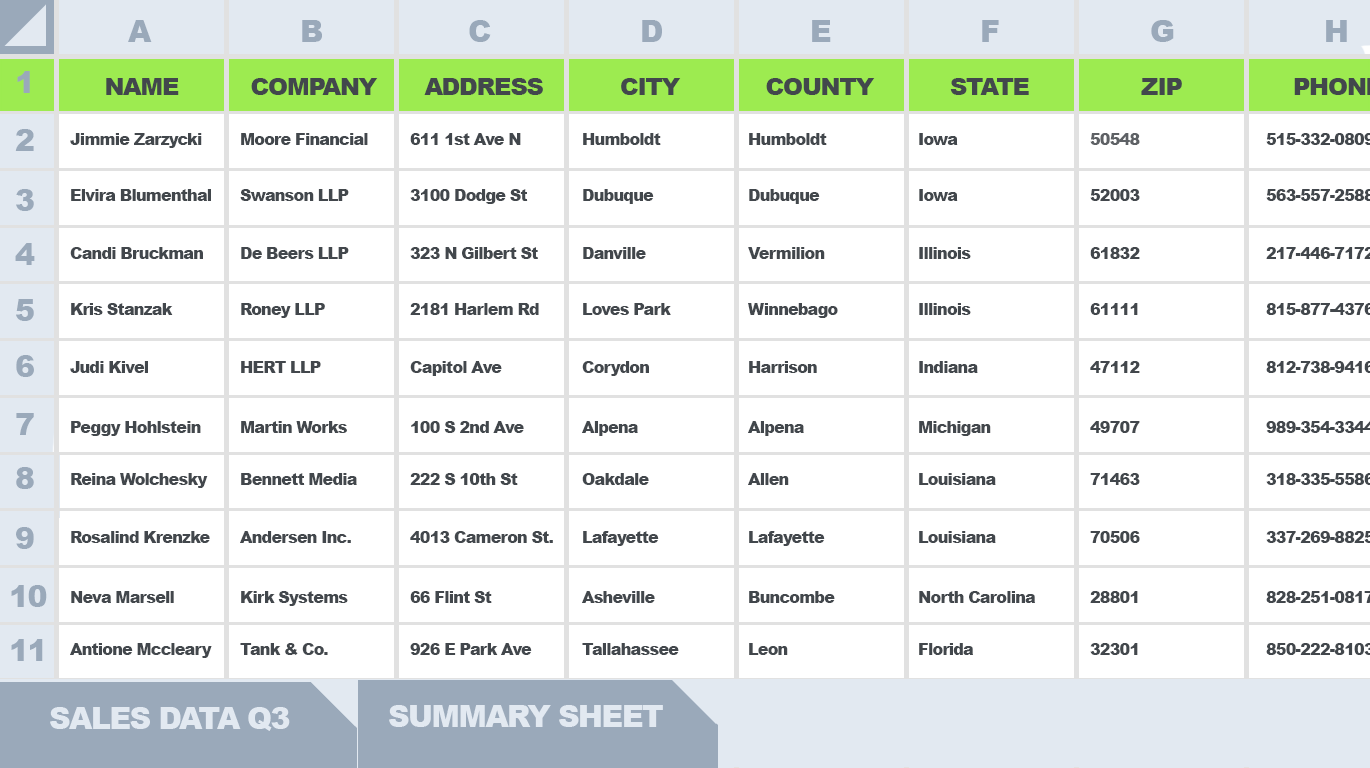
3: Make sure your column headers are in the first row.
eSpatial will only recognize the first row of your spreadsheet as the header row.
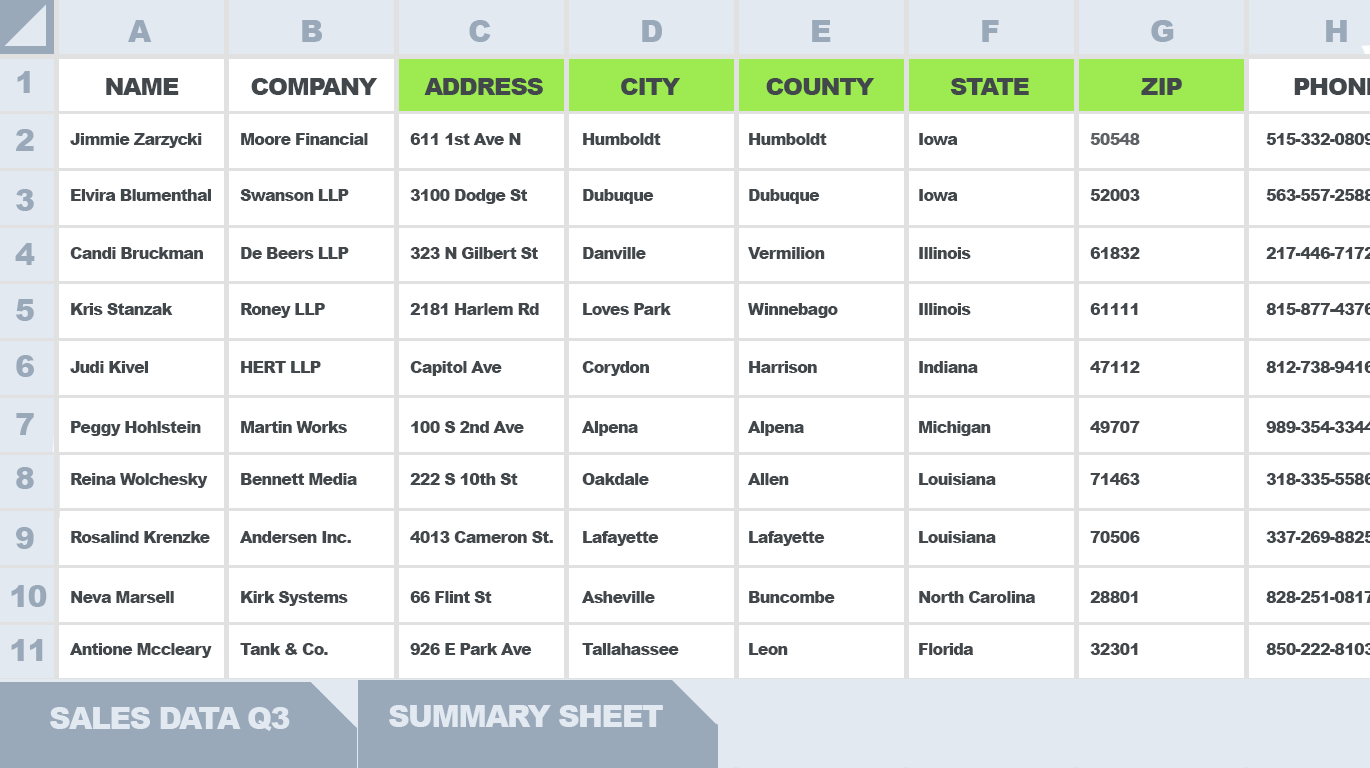
4: Make sure each column has a unique header.
Multiple columns with the same header are not compatible with eSpatial, make sure to use unique values for each column.
5: Make sure your address data is in the file.
Make sure your file contains your location data, this can be in a single column as the full address, or split in to constituent parts, e.g. different columns for Street, City, ZIP, State, and Country. While you don’t have to split your address data into different columns, you may find that it will help later on when you want to filter your data for map creation and analysis.
6: Ensure each column only contains one data type.
Make sure to format your columns to the data type they contain, for example text, Boolean, integer, date, or decimal. This ensures that eSpatial correctly identifies your data, allowing you to perform detailed analysis and filtering.
Common Data Issues:
You should also note the following when preparing your data:
Filters:
- eSpatial does not recognize dataset filters in your spreadsheets, so if you only need to import specific data we recommend copying this data to its own spreadsheet so that it does not require filters.
Data Subtotals:
- You should remove any subtotals in your data. Even if there is no address associated with these values, they can sometimes still populate on your map and skew your analysis results.
- Data should be a solid block with no blank rows or columns.
Cell Character Length:
- eSpatial cells have a max character length of 1500 characters. If you are importing report exports please ensure that none of your columns and cells exceed this limit or errors can occur on upload.
Hyperlinks:
- Website links can be included in your datasets which will bring you to the referenced site. However, hyperlinks where a single word is present and the website is linked within are not recognized so please ensure to revert them to their original URL if you want to link to sites.